As
the year comes to an end, a big project I've been working on for the
last six months is coming to its final stages, too. It took center stage
in my life and didn't leave time for much else, which explains the
absence of travelogues and social media activity in recent months, as
well as the shocking failure to send out Christmas cards, just to name a
few. I hope to unveil the project in February and resume my normal life
then!
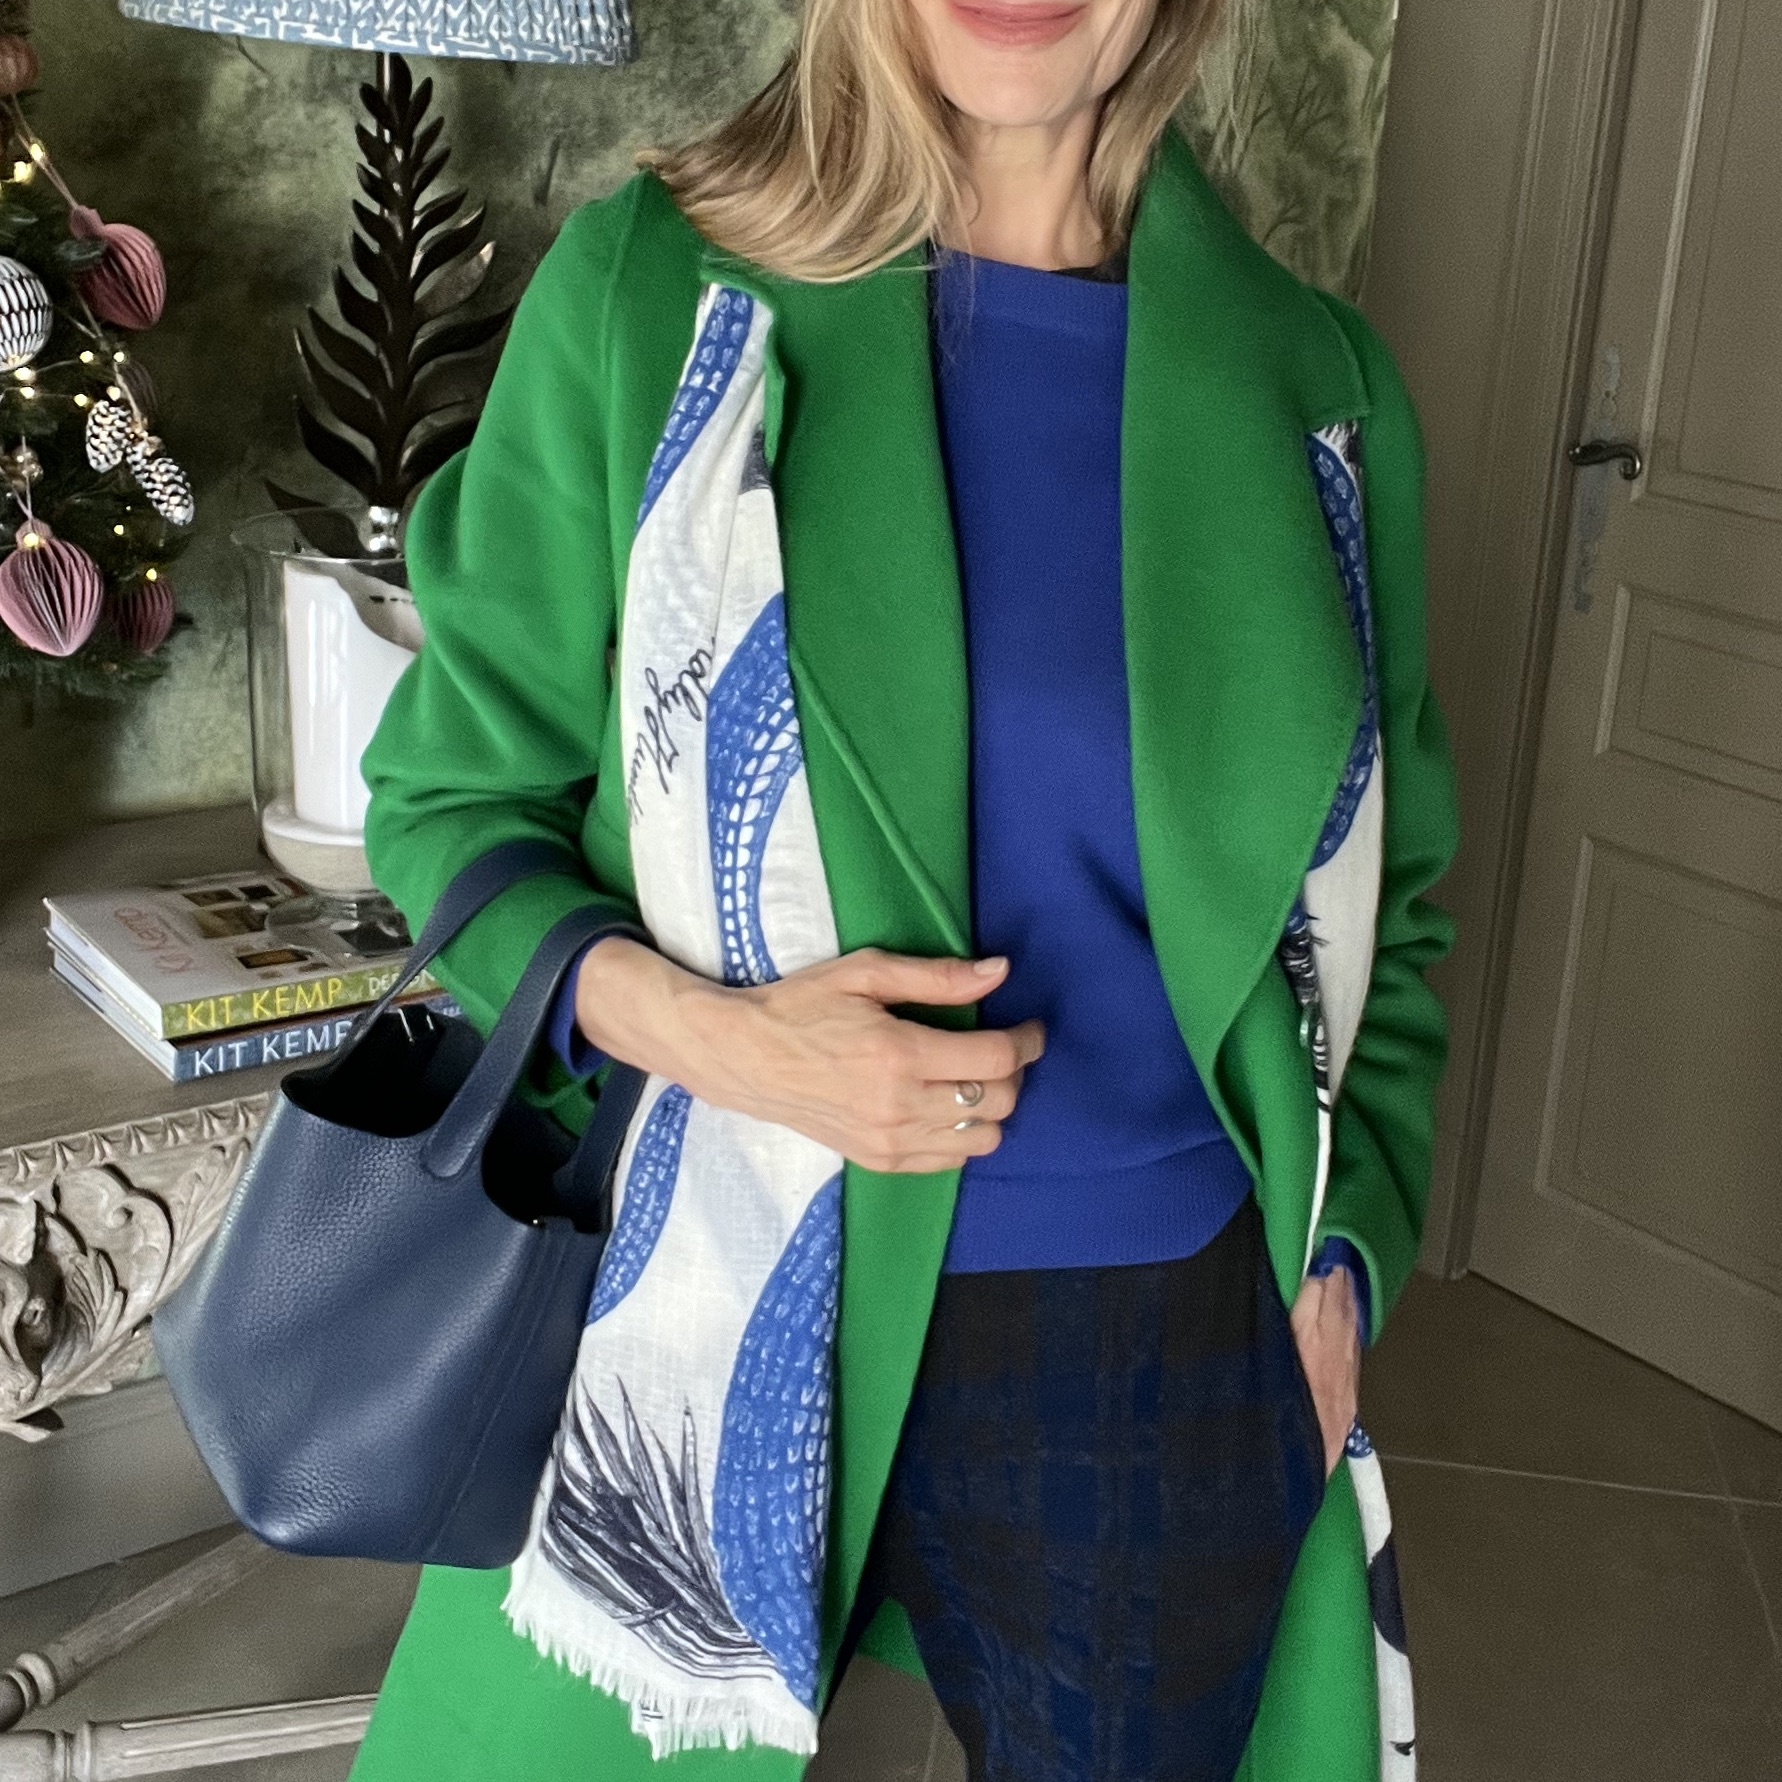
Previously at this time of year, I'd be blogging
about holiday outfits, but I only just started Christmas preparations
and haven't spent much thought on outfits yet. I thought I'd share my
family's Christmas cookie recipes, along with my childhood memories,
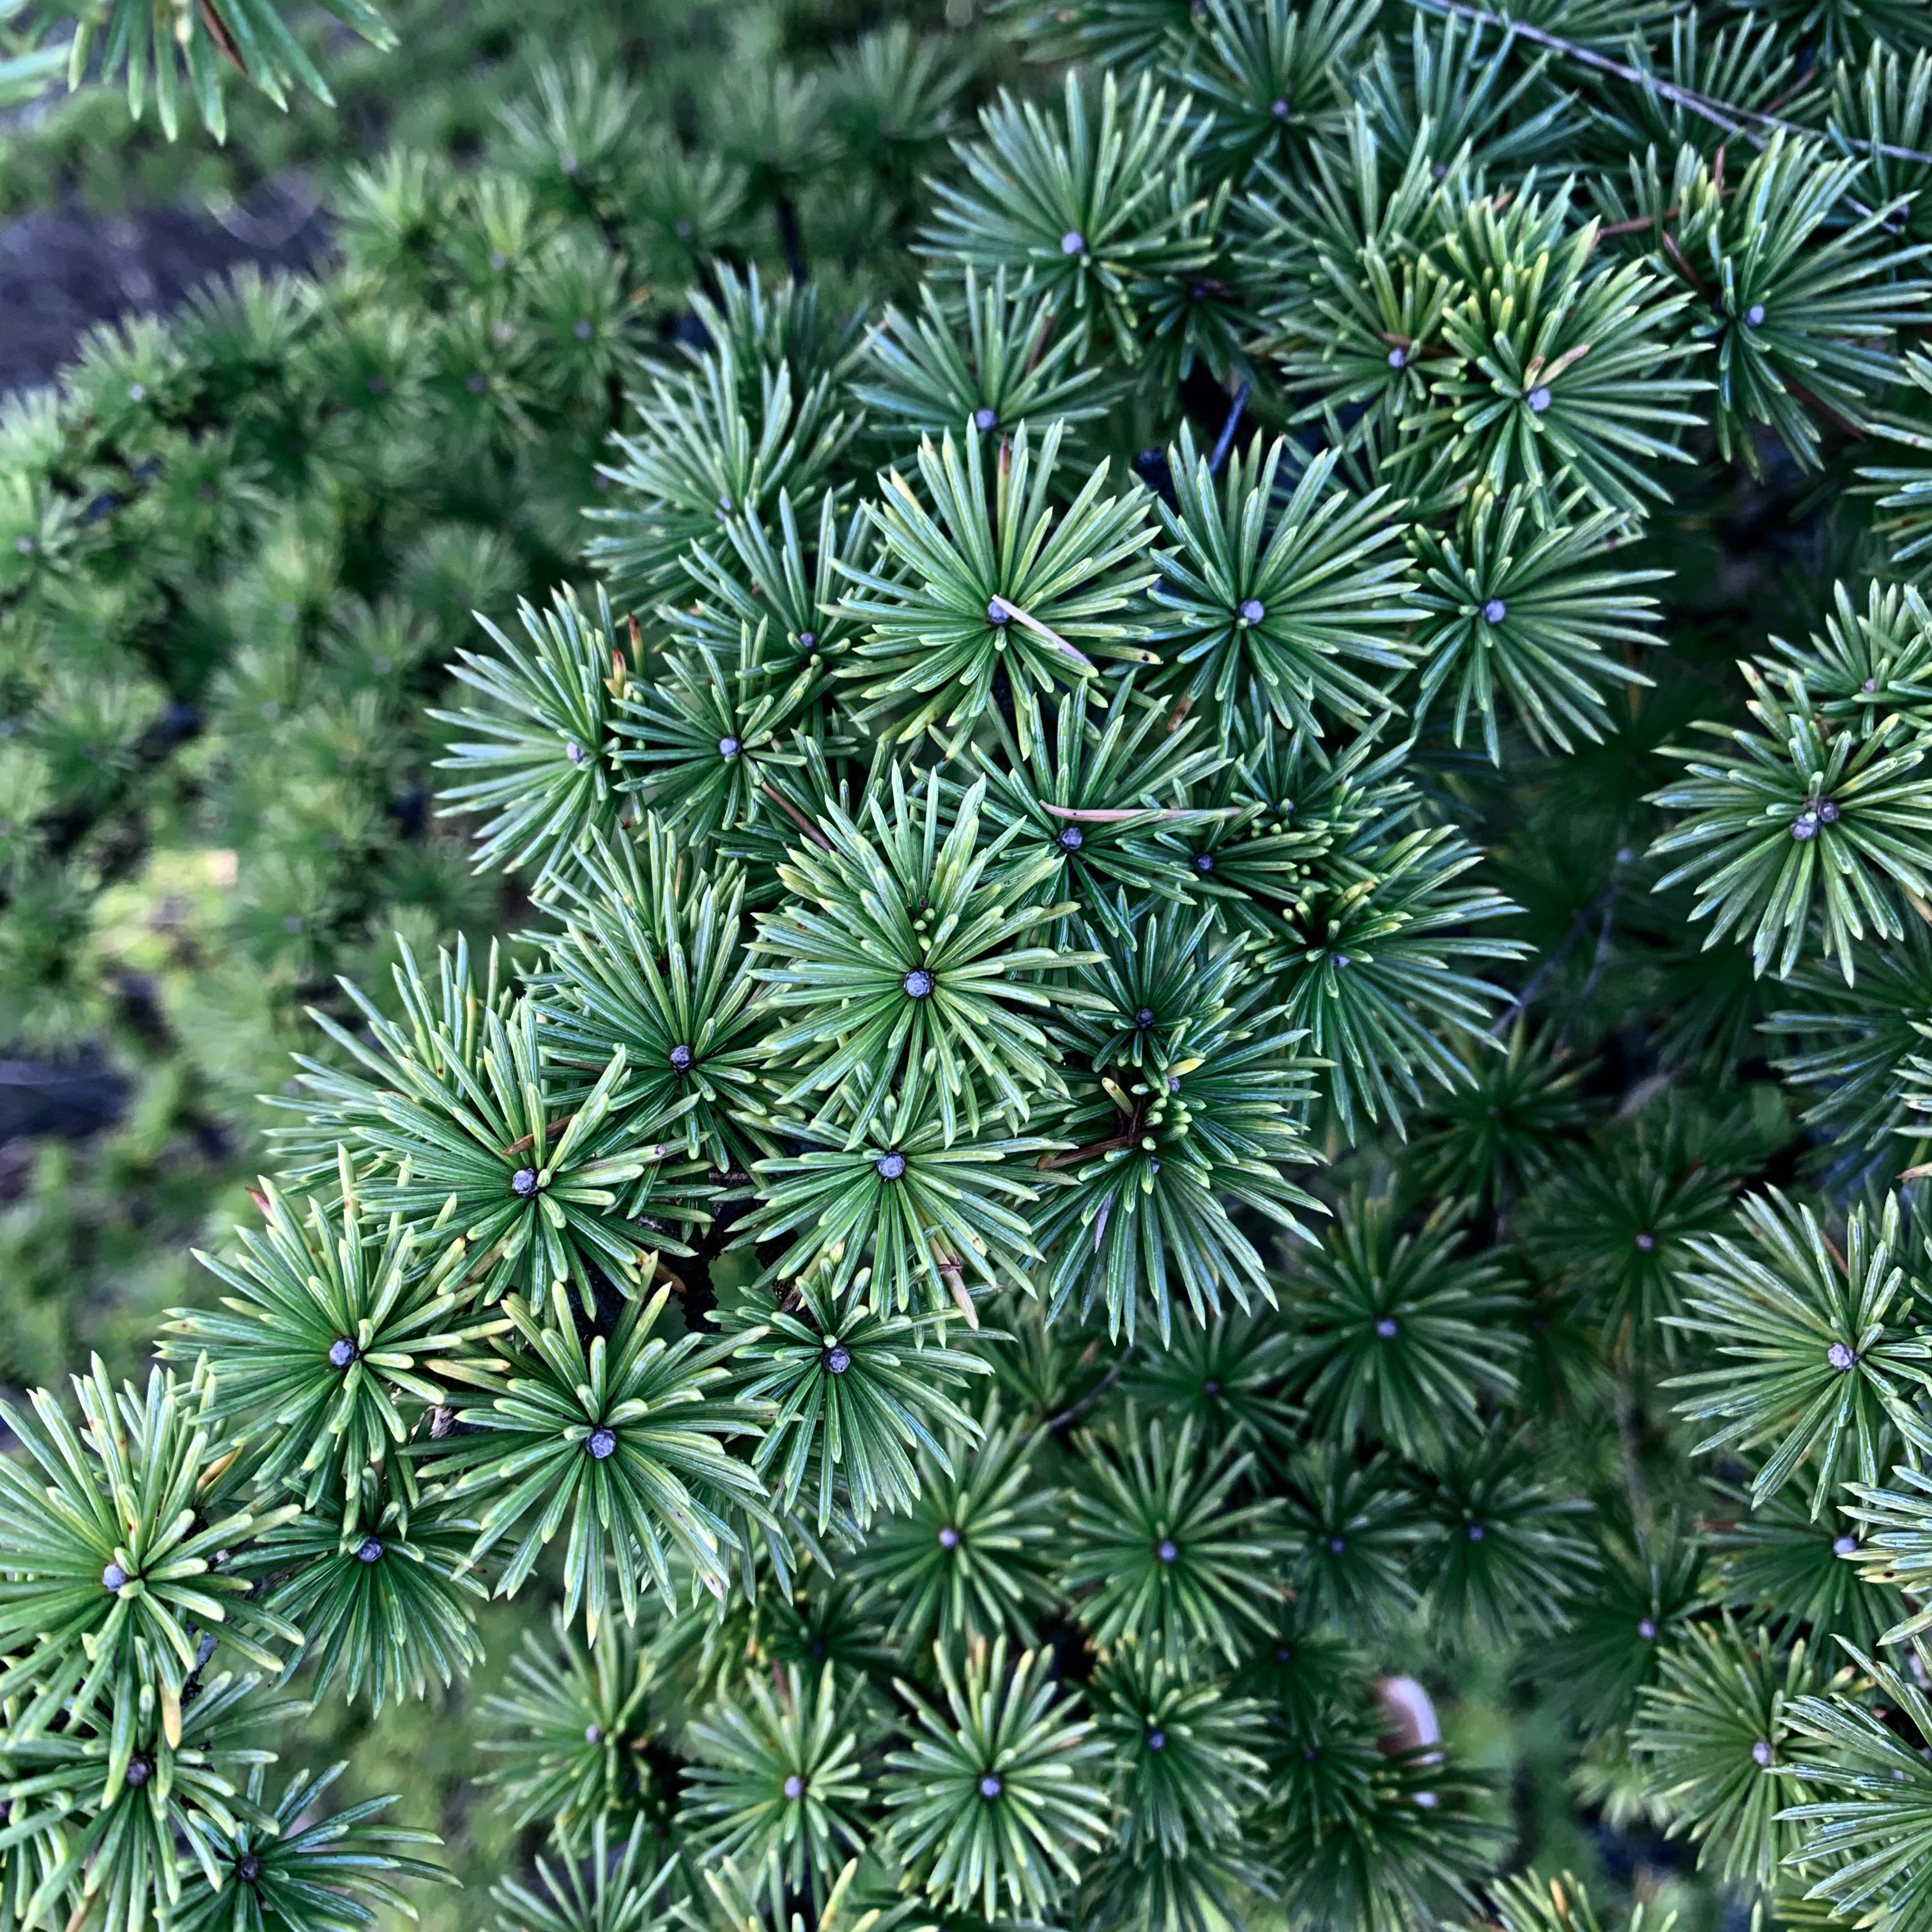
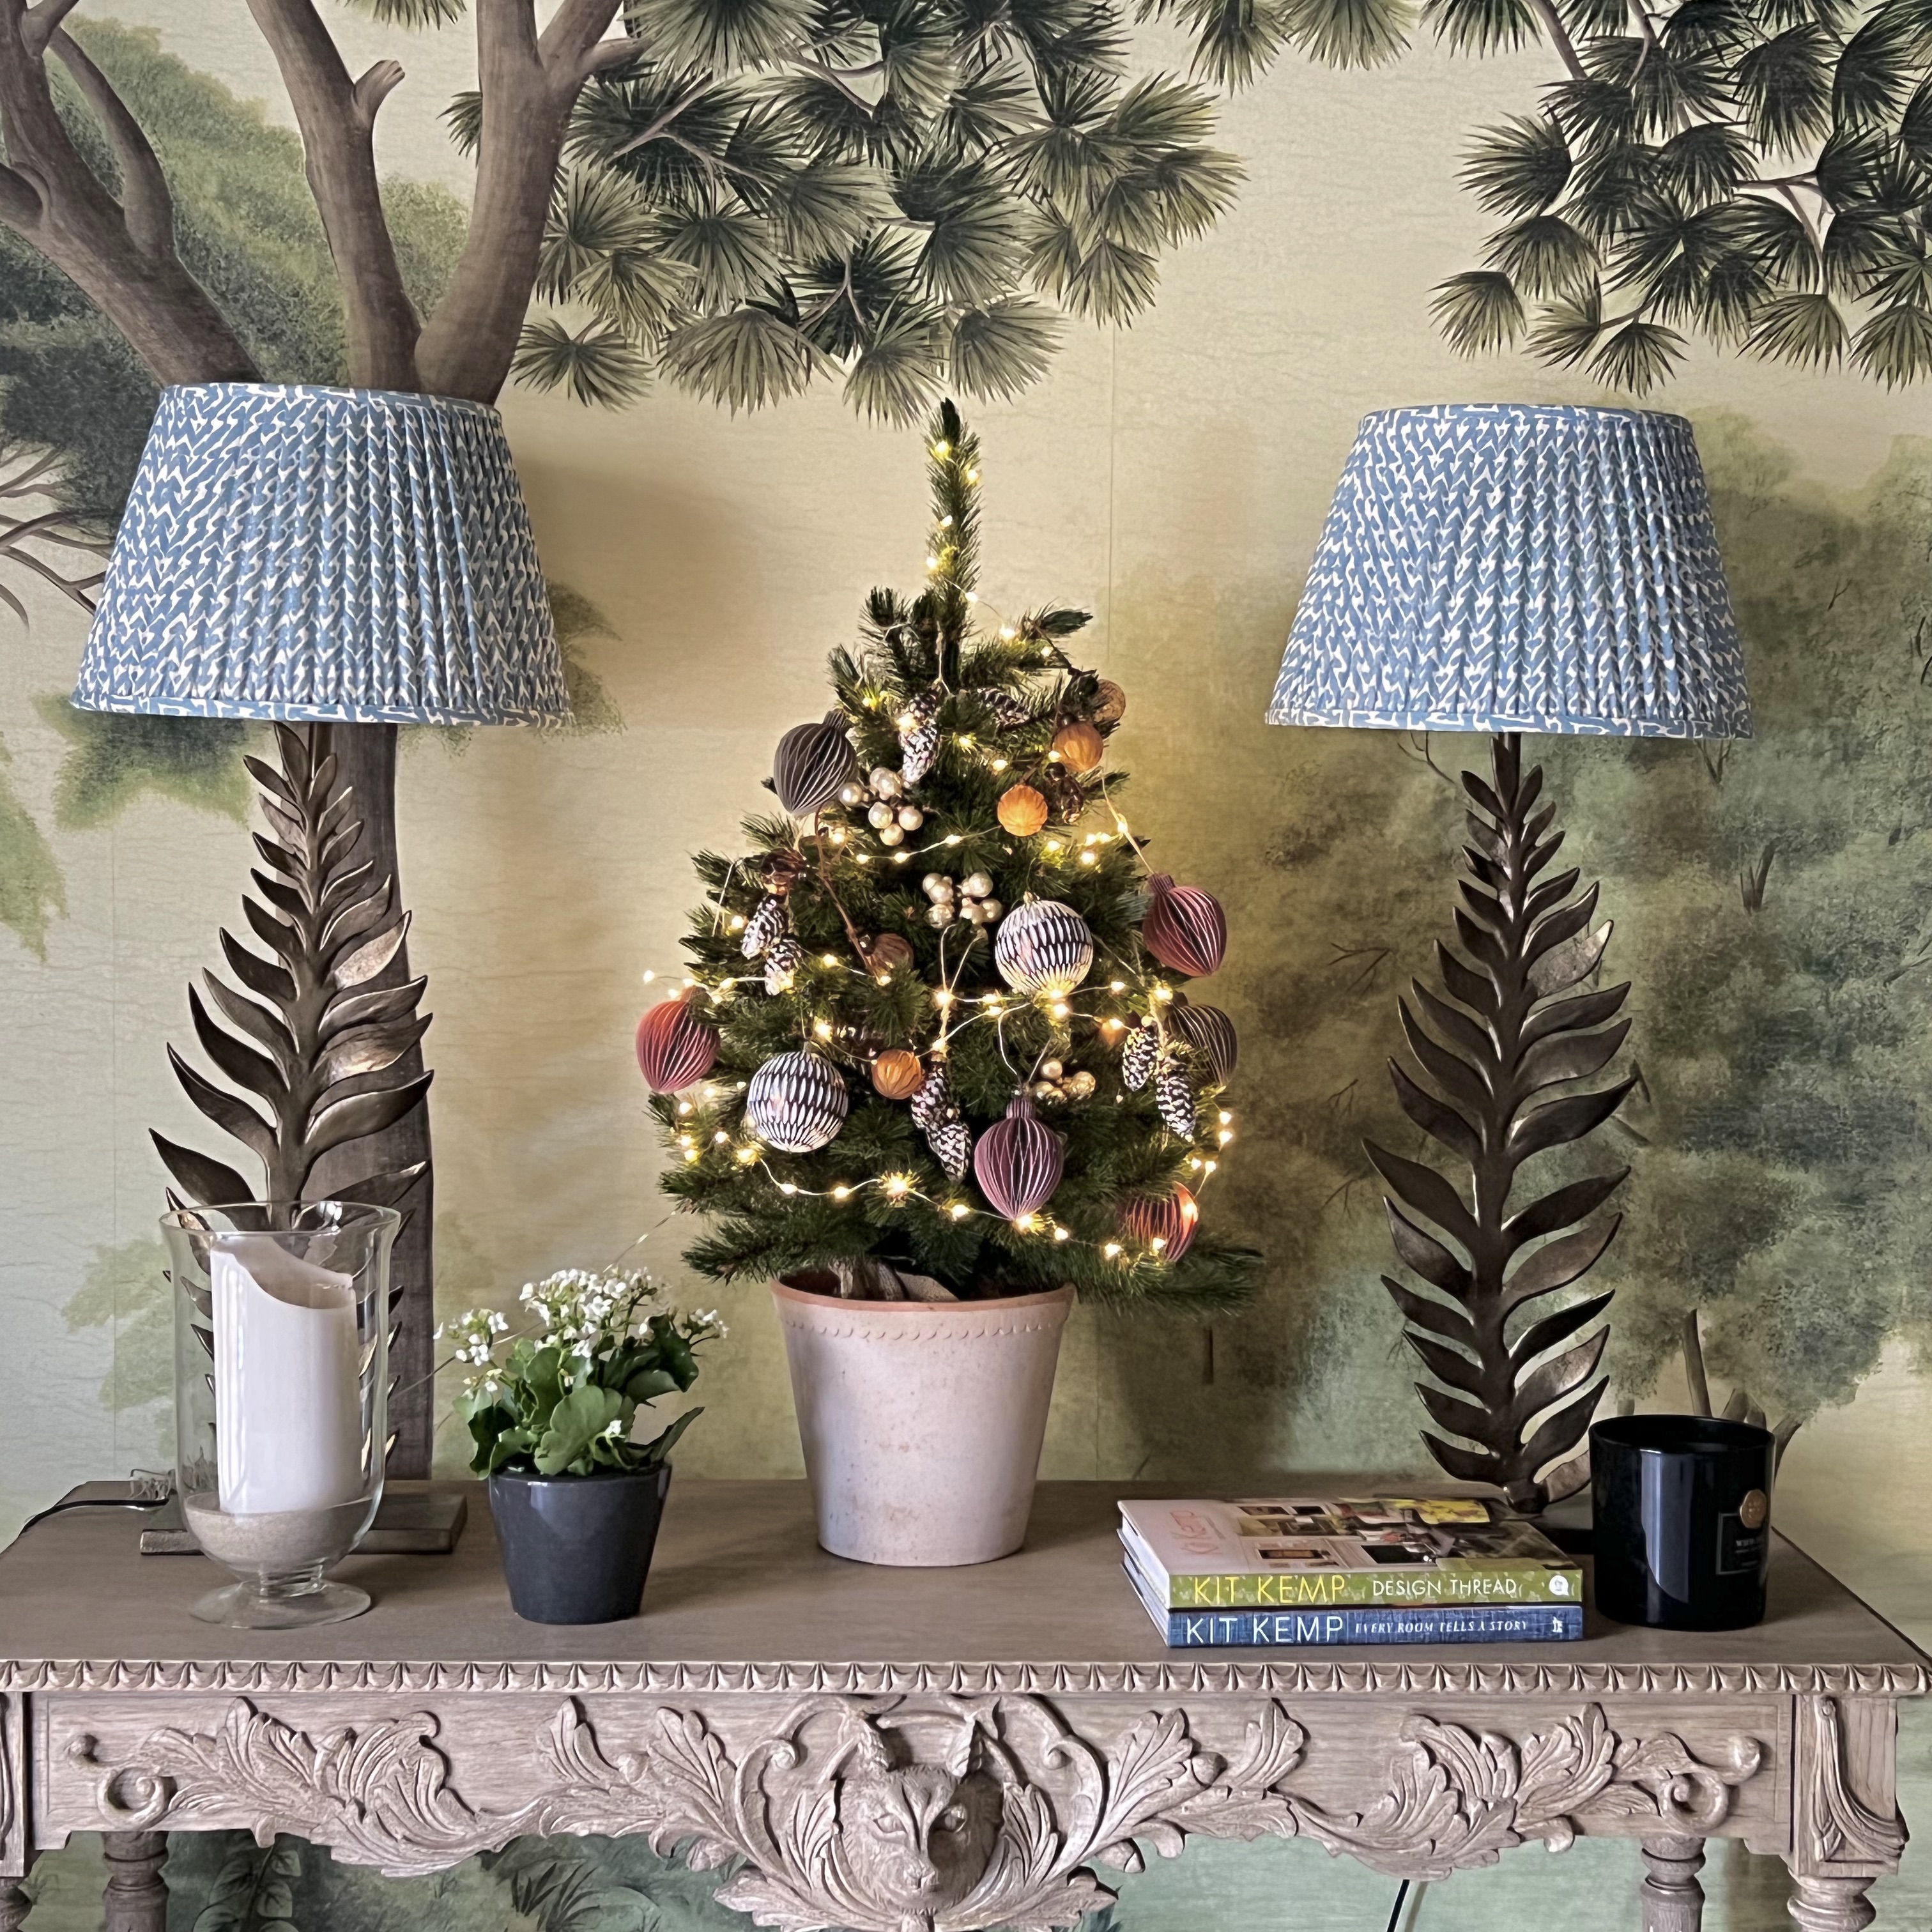
with you instead. Also posting a few pictures of this year's
decorations, inspired by the colors nature puts out for the season.
When
I was a little girl, Christmas used to begin at tea-time on December
24th. The morning felt like the longest day of the year, as my brother
and I weren't allowed to enter the downstairs living area. Behind closed
doors, my parents set up the room and decked the tree. Around 5 pm,
when dusk set in, a faint little bell would ring and at the sound, we
rushed downstairs. The living room doors opened and we were greeted by
sheer magic, the entire space was lit by just candlelight and a festive
Christmas tree had taken center stage. We'd glance excitedly at the
gifts under the tree and then settle with our parents at the coffee
table, which was laid out with beautiful porcelain and the Christmas
cookies my mother made. We'd listen to Christmas carols, enjoy the
cookies and watch the candles on the Christmas tree slowly burning down.
These were such peaceful, contemplative and happy times, mixed with a
tingling of excitement at the prospect of unwrapping the Christmas gifts
later in the evening.

In
my adult life, the main celebrations have moved to the
25th, but Christmas still begins on the evening of the 24th when the
family gathers by the candlelit tree to listen to carols with cookies
and a glass of champagne. The cookie recipes have a long tradition, they
were handed down from previous
generations on both my parent's sides, my mother's Finnish and my
father's
German. When my father was a little boy (picture further down),
"Christmas tasted the same" as it does for my family now, and his
mother's cookies have become an evocative taste of Christmas for my
husband's family over the years, too. Traditions evolve and change with
each generation and new sets of memories are created, but the recipes
below have always been at the heart of Christmas for my family. I hope
they bring new Christmas joys to your home and perhaps become part of
your traditions, too.


Recipe #1 - Else's Christmas cookies
Recipe #2 - Spitzbuben (German for rascal or scamp), a German Christmas classic
Recipe #3 Snowballs - small round cookies with chopped almonds and chocolate, dusted in icing sugar
Recipe #4 - Piparkakut - a Finnish Christmas classic and a fragrant version of the gingerbread man
Else’s Christmas Cookies - Recipe #1
My father with his sister and their beloved mother Else.
 Here's the original recipe in Else's cookbook, which she credits to her aunt Anna. The date is December 29, 1912. They probably saw each other at or after Christmas that year, and Else must have asked Anna for
the recipe:
Here's the original recipe in Else's cookbook, which she credits to her aunt Anna. The date is December 29, 1912. They probably saw each other at or after Christmas that year, and Else must have asked Anna for
the recipe:

Makes around 35-40
(This depends on how much of the dough you're 'sample'. I usually double or triple the
ingredients, depending on how many we are on Christmas.)
125 gr soft butter (0.55 US cups or 4.4 oz)
125 gr caster sugar (0.63 US cups or 4.4 oz)
1 egg
1 teaspoon ground cinnamon
125 gr chopped almonds (4.4 oz)
165 gr all-purpose flour (1.14 US cups or 5.8 oz)
Redcurrant jelly
Icing sugar/lemon/decoration for the frosting
Place
the butter and sugar in a mixing bowl and beat until light and fluffy.
Add the eggs (one by one) while continuing to beat. Reduce the mixing
speed and add the cinnamon, then the chopped almonds. Reduce the mixing speed to the lowest level and add the flour in batches. The dough needs to remain moist but also manageable. If it is still too wet, add a little
extra flour.
Place the dough into a bowl covered in clingfilm and leave overnight in a fridge.
The next day, roll out the dough (2-3mm thick) and cut out the cookies using a round cookie cutter (or a shot glass with sharp rims).

Place on a tray covered with baking parchment.

Place in a preheated oven (180˚Celsius/350˚Fahrenheit) and bake until the rims are getting golden:

Remove
the parchment from the hot baking tray and put it on a cool surface.
Place a dollop of redcurrant jelly into the centre of every other
cookie.

Place the remaining cookies on top.

The original recipe uses Rose Hip Jelly, which I replaced for simplicity with redcurrant jelly (my favourite is by
Bonne Maman)

Let
the cookies completely cool. Prepare the decorations (Pine kernels, almond slices, pistachios, candied cherries cut in half, sugar pearls, etc.), cover the cookies with icing (I add a dash of fresh lemon juice to the icing), and decorate to your heart’s content!
 Spitzbuben - Recipe #2
Makes around 35
125 gr soft butter (0.55 US cups or 4.4 oz)
60 gr caster sugar (0.3 US cups or 2.1 oz)
30 gr vanilla sugar (2.5 tablespoons or 1 oz)
1 egg
1 teaspoon ground cinnamon
65 gr powdered almonds (2.3 oz)
150 gr all-purpose flour (1.03 US cups or 5.3 oz)
redcurrant jelly
icing sugar for dusting
Same process as above, except that you dust the cookies with icing sugar instead of frosting them.
Snowballs - Recipe #3
makes 80
125 gr soft butter (0.55 US cups or 4.4 oz)
70 gr caster sugar (0.35 US cups or 2.5 oz)
30 gr vanilla sugar (0.15 US cups or 1 oz)
pinch of salt
1 egg
3 teaspoons ground cinnamon
125 gr chopped almonds (4.4 oz)
125 gr chopped dark chocolate (4.4 oz)
200 gr all-purpose flour (1.38 US cups or 7 oz)
Icing sugar for dusting
Make
the dough in the same way as above and leave it in the fridge overnight. Form little balls with your hands, place them on a baking tray covered in parchment, and bake in a preheated oven (180˚ celsius/350˚FH) for around 8 minutes. Once cooled, dust with icing sugar.
Piparkakut - Recipe #4

Makes around 50, depending on the size of your cookie cutters
125 gr butter (0.66 US cups or 4.4 oz)
100 gr caster sugar (0.5 US cups or 3.5 oz)
1 egg
100 gr molasses or black treacle. If not available, you can use golden syrup (0.3 US cups or 3.5 oz)
1/2 teaspoon salt
1 teaspoon ground cinnamon
1 teaspoon ground ginger
1 teaspoon ground cardamon
1 teaspoon baking soda
200 gr all-purpose flour (1.38 US cups or 7 oz)
Place the molasses, spices, salt, sugar and butter into a saucepan, stir to make a smooth mixture and bring it slowly to the boiling point. Remove from heat as soon as the boiling point is reached and let it cool. Transfer to a mixing bowl and beat until the mixture has become a little bit lighter and fluffier. Beat in the egg. Combine the flour with the baking soda. Reduce mixing speed and add the flour in batches. The dough needs
to remain moist but also manageable. If still too wet, add a little
extra flour.
Place the dough into a bowl covered in clingfilm and leave overnight in a fridge.
The next day, roll out the dough thinly and use your favourite cookie cutters to cut out the cookies. Place them in a preheated oven (200˚Celsius/390˚Fahrenheit) and bake for about 5 minutes.
Let them cool off completely, and decorate them with icing to your liking.
Tips:
Once the dough reaches room temperature, it becomes difficult to handle. Therefore, I leave them in the fridge and work through them in small
batches.
Instead of covering a kitchen surface with
flour when rolling out the dough, I cut a large freezer bag open and placed the dough inside. This way, the dough doesn't get too floury and won't stick to the rolling pin or kitchen surface. Before cutting out the cookies, I opened both freezer bag sides to make sure the dough didn't stick to either.
When you combine the cookies with the redcurrant jelly, make sure they are hot out of the oven.

I
am still a little bit behind on preparations this year, but I made the
Christmas pudding, put up a few wreaths and decorations, started baking
and wrapped most presents. Writing this post installed a festive mood in
me and I look forward to celebrating Christmas cheer with my family
next week.


Two more days...
You can probably guess why this is one of my favorite ornaments!
The Christmas pudding, already made in November (recipe here)
And another favorite, unsurprisingly!
Wrapping paper by the Italian printer
Tassotti (they have beautiful non-holiday papers too, all of which can be ordered
here)
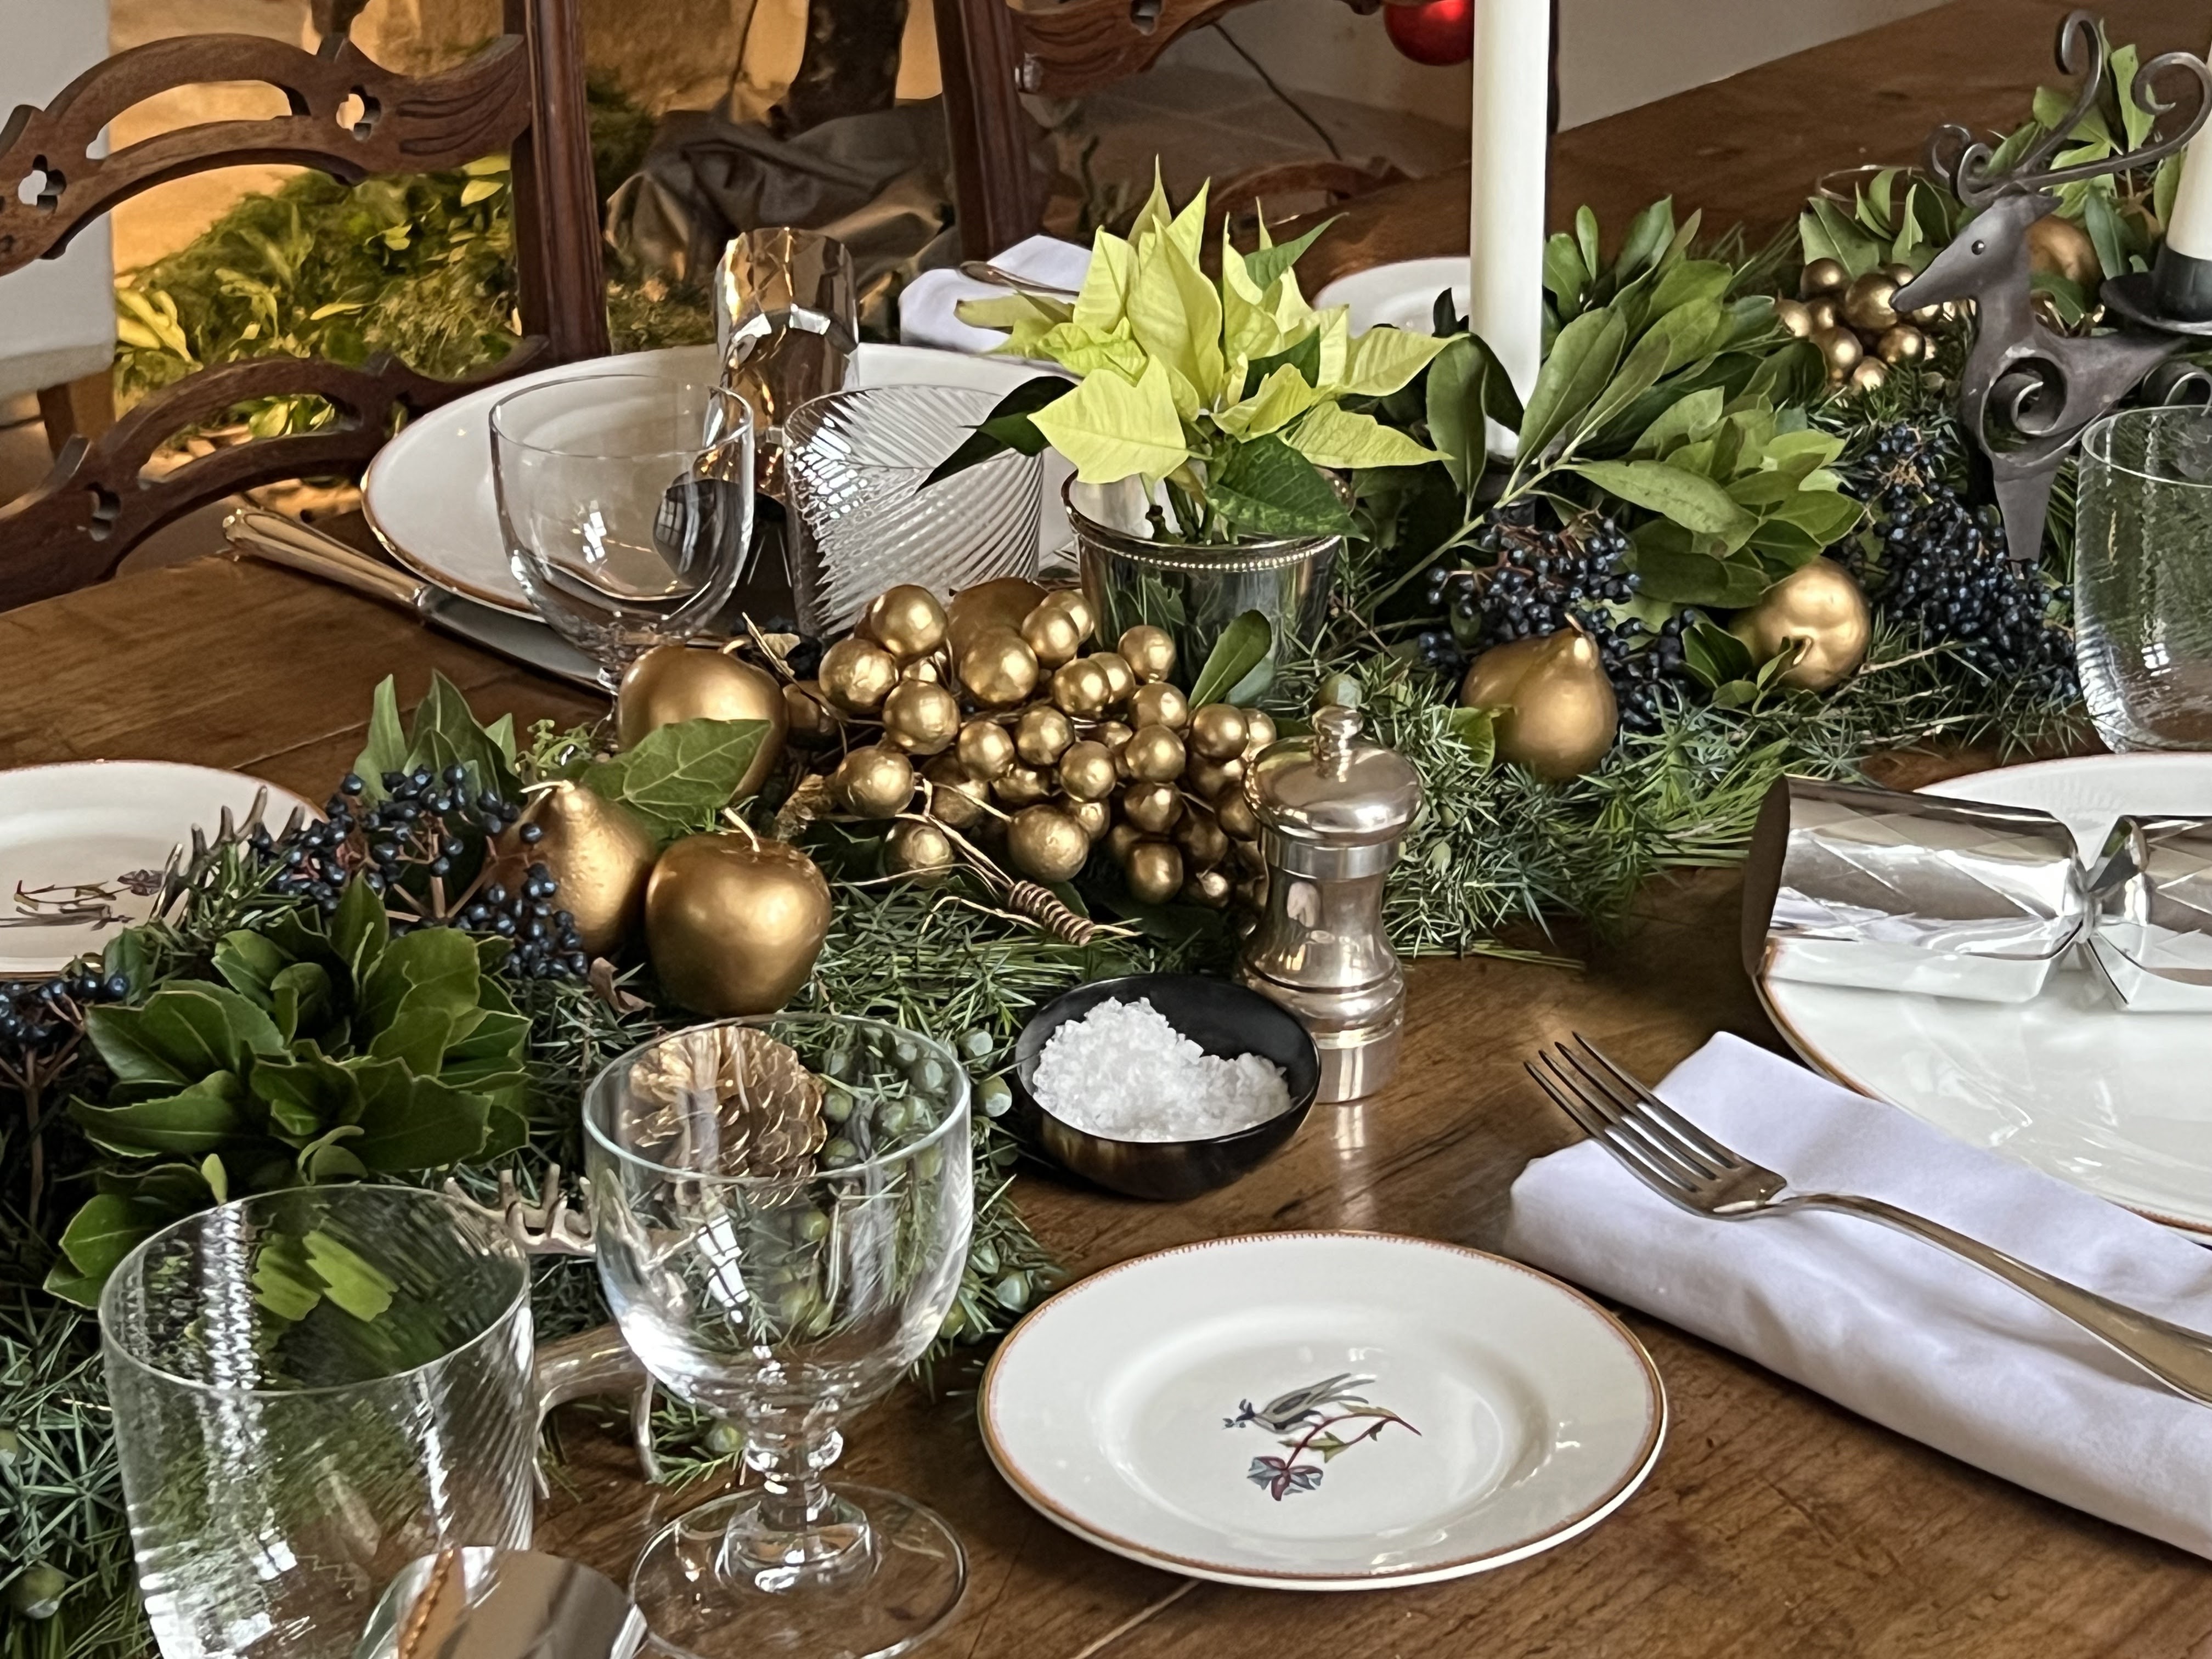
In
keeping with the traditional theme, I'll be decorating the table in
a similar way to this setting from the previous year:
Last year's tree
Wishing you all happy holidays, a merry Christmas and a fabulous, healthy and happy New Year 2020 ahead!
xxx